When Is the Best Time to Photograph the Northern Lights?
The Northern Lights, also known as Aurora Borealis, is a natural phenomenon that occurs when charged particles from the sun interact with the Earth's atmosphere. This interaction creates a breathtaking display of light in the sky, often visible in regions near the Arctic and Antarctic circles.
Capturing the Northern Lights in photographs is a dream for many photographers, and with careful planning and preparation, it's possible to achieve stunning results. Here, we delve into the factors that affect Northern Lights photography and provide tips for capturing the perfect shot.
Factors Affecting Northern Lights Photography
Darkness:
Darkness is crucial for capturing clear shots of the Northern Lights. The darker the sky, the more prominent the lights will appear. Avoid areas with light pollution, such as cities or towns, and choose remote locations with minimal artificial light.
Solar Activity:
The intensity of the Northern Lights is directly related to solar activity. During periods of high solar activity, the lights are more likely to be visible and more vibrant. Keep an eye on solar activity forecasts to plan your photography trip accordingly.
Weather Conditions:
Clear skies and minimal cloud cover are essential for successful Northern Lights photography. Clouds can obstruct the view of the lights, so it's best to choose nights with clear weather conditions.
Location:
The best regions for Northern Lights viewing and photography are located near the Arctic and Antarctic circles. Some popular destinations include Alaska, Canada, Norway, Sweden, Finland, and Iceland.
Time Of Year:
The Northern Lights are visible during the winter months when there are longer nights and darker skies. The best time to see the lights varies depending on the region, but generally, the months of September to April offer the highest chances of spotting them.
Ideal Time To Photograph The Northern Lights
Winter Months:
During the winter months, the nights are longer, providing more opportunities to witness the Northern Lights. The darkness allows for clearer and more vibrant displays of the lights.
Specific Months:
- Alaska: September to April
- Canada: September to April
- Norway: September to March
- Sweden: September to March
- Finland: September to March
- Iceland: September to April
Peak Hours:
The optimal time window for capturing the Northern Lights typically falls between 10 pm and 2 am. However, this can vary depending on the region and the time of year. It's best to check local forecasts and aurora activity predictions to determine the best time for photography in your chosen location.
Additional Tips For Successful Northern Lights Photography
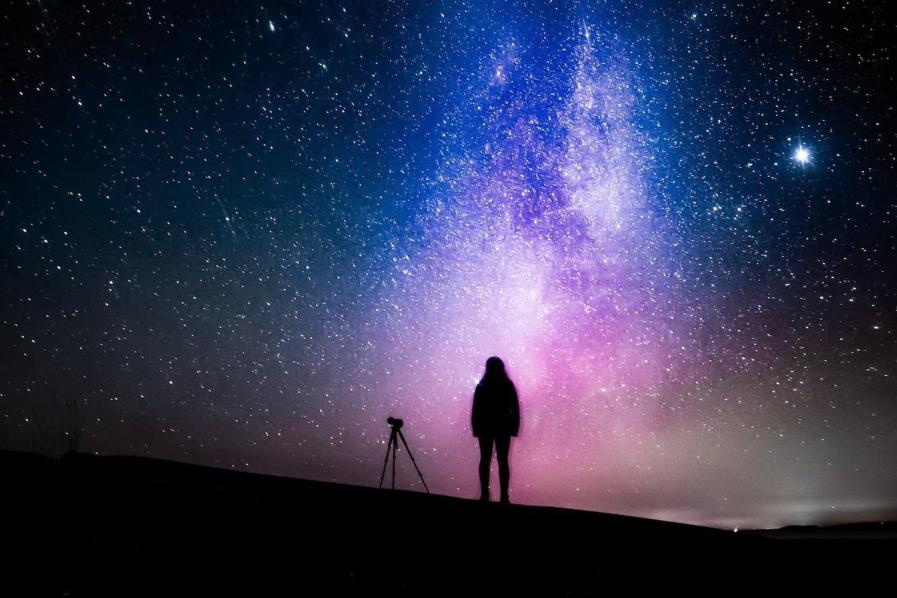
Use A Tripod:
A sturdy tripod is essential for stable shots, especially when using long exposure times. This will help prevent camera shake and ensure sharp images.
Set Manual Camera Settings:
For low-light conditions, it's best to adjust your camera settings manually. Use a wide aperture (e.g., f/2.8 or wider) to let in more light, a low ISO (e.g., ISO 100 or lower) to minimize noise, and a long exposure time (e.g., 15 seconds or longer) to capture the movement of the lights.
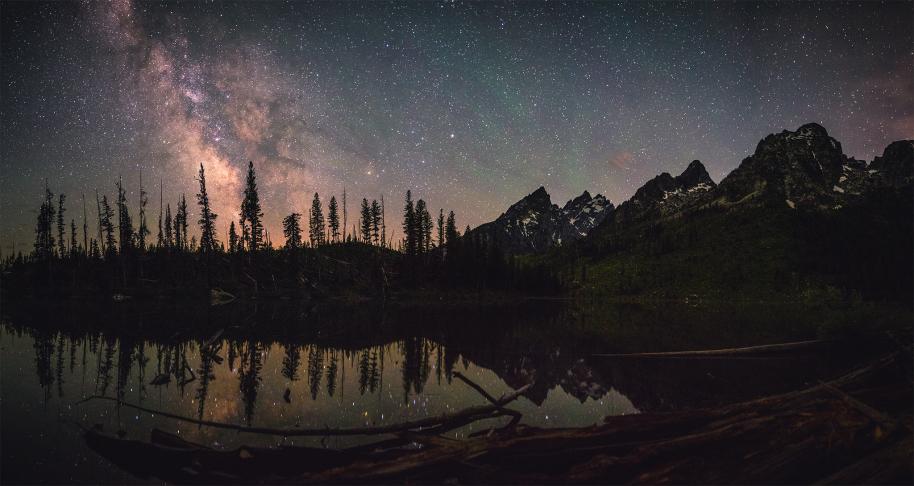
Use A Wide-Angle Lens:
A wide-angle lens allows you to capture the vastness of the Northern Lights and the surrounding landscape. This is particularly useful when shooting in remote locations with limited space.
Focus On Infinity:
To ensure sharp images, focus your camera on infinity. This will help keep both the Northern Lights and the foreground in focus.
Experiment With Different Shutter Speeds:
Varying the shutter speed can create different effects in your photographs. Longer exposure times (e.g., 30 seconds or more) will capture the movement and flow of the lights, while shorter exposure times (e.g., 10 seconds or less) will freeze the lights in place.
Protect Your Camera From Cold:
When shooting in cold conditions, protect your camera from the elements. Use a camera bag or cover to keep it dry and warm. Also, consider using a battery grip or spare batteries, as cold temperatures can drain batteries quickly.
Capturing the Northern Lights in photographs is a rewarding experience that requires careful planning and preparation. By considering the factors discussed in this article and following these tips, you can increase your chances of capturing stunning images of this natural phenomenon.
YesNo

Leave a Reply