Mastering the Night: A Guide to Capturing the Northern Lights in Astrophotography
The Northern Lights, also known as Aurora Borealis, are a captivating natural phenomenon that has fascinated humanity for centuries. These celestial displays are caused by the interaction of charged particles from the sun with the Earth's atmosphere, resulting in breathtaking patterns and colors that dance across the night sky. Capturing the beauty of the Northern Lights through astrophotography is a rewarding experience that requires careful planning, technical expertise, and a touch of patience.
Essential Equipment
To embark on your astrophotography journey, you'll need the following essential equipment:
- Camera: A full-frame DSLR or mirrorless camera with a low-noise sensor is ideal for capturing high-quality images of the Northern Lights. A larger sensor size allows for better low-light performance and reduces noise.
- Lens: A wide-angle lens with a large aperture (e.g., f/2.8 or wider) is recommended to capture the vastness of the night sky and the movement of the aurora. A wider aperture also lets in more light, reducing the need for excessively long exposures.
- Tripod: A sturdy tripod is essential for ensuring stability during long exposures. A tripod helps minimize camera shake and ensures sharp images, especially when shooting in low-light conditions.
- Remote shutter release or intervalometer: To minimize camera shake and allow for long exposures, a remote shutter release or intervalometer is highly recommended. These devices allow you to trigger the camera remotely, eliminating the need to touch the camera during the exposure.
Choosing The Right Location
Selecting the right location is crucial for successful Northern Lights astrophotography. Here are some factors to consider:
- Aurora forecasts and solar activity reports: Keep an eye on aurora forecasts and solar activity reports to determine the likelihood of seeing the Northern Lights in your chosen location. Websites like the Space Weather Prediction Center provide valuable information on aurora activity.
- Minimal light pollution: Light pollution can significantly interfere with astrophotography. Choose a location with minimal light pollution to ensure dark skies and clear visibility of the aurora. Websites like the Dark Sky Finder can help you find dark sky locations near you.
- Clear skies: Obviously, clear skies are essential for astrophotography. Check the weather forecast before heading out to avoid cloudy or rainy conditions.
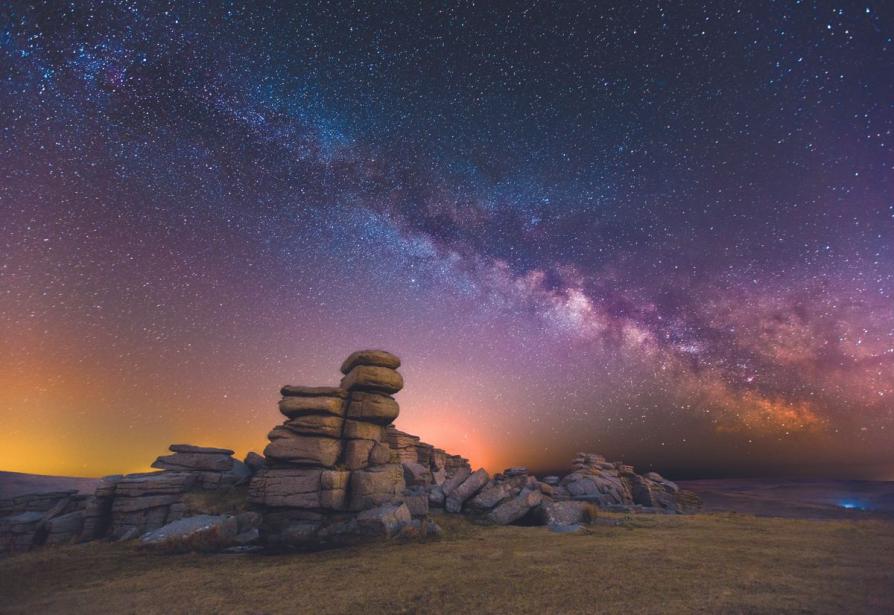
- Accessibility, safety, and composition: Consider factors like accessibility, safety, and composition when choosing your location. Ensure that the location is accessible by road or trail, and that it's safe to set up your equipment. Additionally, think about the composition of your shot, including foreground elements and leading lines that can enhance the impact of your image.
Camera Settings
The following camera settings are recommended for capturing the Northern Lights:
- Aperture: Set the aperture to the widest possible setting (e.g., f/2.8) to let in as much light as possible. This will help reduce the need for excessively long exposures and minimize noise.
- Shutter Speed: Experiment with long exposures (e.g., 15-30 seconds) to capture the movement and flow of the Northern Lights. Longer exposures will result in more vibrant and dynamic images, but be careful not to overexpose the image.
- ISO: Adjust the ISO to achieve a balanced exposure without excessive noise. Start with a low ISO (e.g., ISO 100 or 200) and increase it gradually until you achieve a properly exposed image. Higher ISO settings will increase the sensitivity of the sensor to light, but they can also introduce noise into the image.
- White Balance: Set the white balance to a custom white balance to accurately capture the colors of the aurora. Use a white balance setting that corresponds to the color temperature of the night sky, such as "tungsten" or "daylight." You can also use a gray card to set a custom white balance.
Composition And Techniques
In addition to technical settings, composition and techniques play a vital role in creating compelling Northern Lights astrophotography:
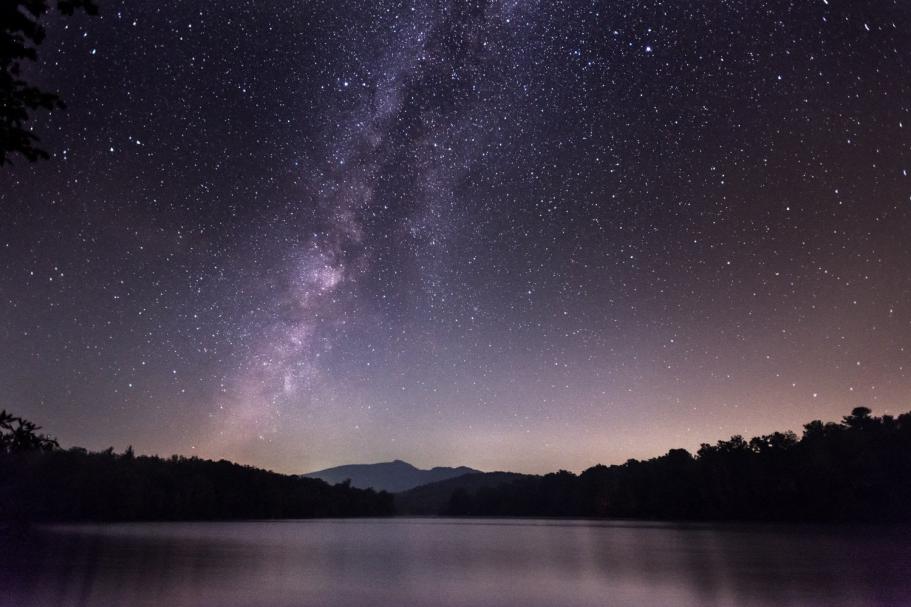
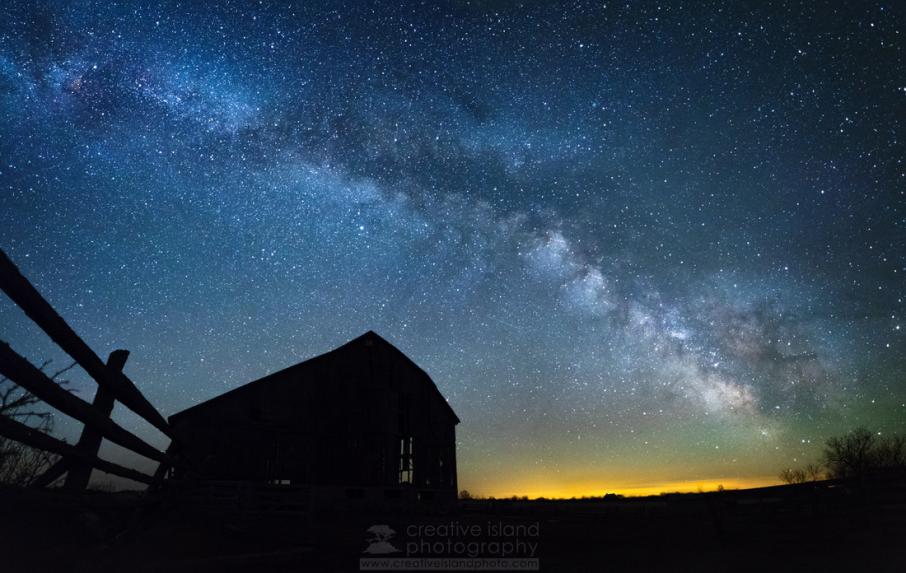
- Experiment with different compositions: Don't just point your camera at the sky and shoot. Experiment with different compositions, including foreground elements like trees, mountains, or buildings, to add depth and interest to your images. Leading lines, such as roads or rivers, can also draw the viewer's eye into the image.
- Use manual focus: Manual focus is essential for ensuring sharp images, especially when shooting in low-light conditions. Autofocus systems can struggle in low-light situations, so it's best to switch to manual focus and focus on a bright star or distant object.
- Consider using a remote shutter release or intervalometer: A remote shutter release or intervalometer can be useful for taking multiple shots and creating a time-lapse video of the Northern Lights. This allows you to capture the dynamic movement and changes in the aurora over time.
Post-Processing
Once you've captured your Northern Lights images, you can use software like Adobe Lightroom or Photoshop to enhance and refine them:
- Adjust exposure, contrast, and color balance: Use the basic adjustment tools in your editing software to adjust the exposure, contrast, and color balance of your images. Fine-tune the settings to achieve a balanced and visually appealing look.
- Experiment with different editing techniques: There are many different editing techniques you can use to enhance the impact of your Northern Lights images. For example, you can use adjustment layers to selectively adjust the brightness, contrast, and color of different parts of the image. You can also use filters and overlays to add creative effects.
- Consider noise reduction techniques: Noise is a common issue in astrophotography, especially when shooting at high ISO settings. Use noise reduction techniques in your editing software to minimize image noise and achieve a cleaner, more refined look.
Safety And Precautions
When engaging in Northern Lights astrophotography, it's important to take safety and precautions:
- Dress appropriately for cold weather conditions: Northern Lights photography often takes place in cold and remote locations. Dress in layers and wear warm clothing to protect yourself from the cold.
- Be aware of potential hazards: Be aware of potential hazards in your chosen location, such as ice, snow, and wildlife. Take appropriate precautions to stay safe and avoid accidents.
- Carry a flashlight or headlamp: Bring a flashlight or headlamp for navigation in the dark. This is especially important if you're shooting in a remote location without artificial lighting.
Capturing the beauty of the Northern Lights through astrophotography is a rewarding experience that requires careful planning, technical expertise, and a touch of patience. By following the tips and techniques outlined in this guide, you can create stunning images that capture the magic and wonder of this natural phenomenon. So, embrace the night, explore the beauty of the aurora, and share your astrophotography experiences with the world.
YesNo

Leave a Reply