How to Capture the Northern Lights in All Their Glory: A Comprehensive Guide for Astrophotographers
The Northern Lights, also known as Aurora Borealis, are a natural phenomenon that captivates the imagination of many. With their vibrant colors and dynamic movements, they offer a breathtaking spectacle that is both awe-inspiring and elusive. This comprehensive guide will provide astrophotographers and enthusiasts with the knowledge and techniques necessary to capture the Northern Lights in all their glory.
I. Understanding The Northern Lights
Scientific Explanation Of The Phenomenon
The Northern Lights are a result of the interaction between the solar wind and the Earth's magnetic field. When charged particles from the solar wind collide with atoms and molecules in the Earth's atmosphere, they excite them, causing them to emit light. The color of the aurora depends on the type of atom or molecule that is excited.
Factors Influencing The Visibility And Intensity Of The Northern Lights
- Solar activity: The intensity of the Northern Lights is directly related to solar activity. During periods of high solar activity, the solar wind is stronger and more likely to produce bright and vibrant auroras.
- Geomagnetic storms: Geomagnetic storms are caused by disturbances in the Earth's magnetic field. These storms can enhance the visibility and intensity of the Northern Lights.
- Location and time of year: The Northern Lights are most visible in the auroral zones, which are located at high latitudes near the Earth's magnetic poles. The best time to see the Northern Lights is during the winter months, when the nights are longer and the skies are darker.
Best Locations For Northern Lights Photography
- Scandinavia (Norway, Sweden, Finland): Scandinavia is one of the most popular destinations for Northern Lights photography, offering stunning landscapes and a high likelihood of seeing the aurora.
- Iceland: Iceland is another excellent location for Northern Lights photography, known for its dramatic landscapes and clear skies.
- Canada (Yukon, Northwest Territories): Canada's northern territories offer vast, dark skies and a high probability of seeing the Northern Lights.
- Alaska: Alaska is another great destination for Northern Lights photography, with its remote locations and pristine wilderness.
- Scotland: Scotland is a more accessible location for Northern Lights photography, offering opportunities to capture the aurora over iconic landmarks.
II. Essential Equipment For Northern Lights Photography
Camera:
A full-frame DSLR or mirrorless camera with manual settings is ideal for Northern Lights photography. This type of camera provides the flexibility and control needed to capture the aurora effectively.
Lens:
A wide-angle lens with a large aperture (f/8 or wider) is essential for capturing the vastness of the Northern Lights. A wide aperture also allows more light to enter the camera, which is crucial in low-light conditions.
Tripod:
A sturdy tripod is necessary to ensure stability during long exposures. A tripod will help minimize camera shake and ensure sharp images.
Remote Shutter Release:
A remote shutter release allows you to trigger the camera without touching it, which helps prevent camera shake during long exposures.
Warm Clothing And Accessories:
Northern Lights photography often takes place in cold and harsh conditions. It is important to dress warmly and bring appropriate accessories such as gloves, a hat, and a scarf to stay comfortable during the shoot.
III. Camera Settings For Northern Lights Photography
Aperture:
Use a wide aperture (f/8 or wider) to let in as much light as possible. This will help reduce noise and ensure a sharp image.
Shutter Speed:
Use a long exposure (typically 15-30 seconds) to capture the movement of the Northern Lights. Experiment with different shutter speeds to find the optimal exposure for your specific conditions.
ISO:
Use a high ISO (typically 1600-3200) to compensate for low light conditions. However, be aware that higher ISO settings can introduce noise into the image.
White Balance:
Use a manual white balance setting to ensure accurate colors. The "tungsten" or "daylight" white balance presets can provide a good starting point.
Focus:
Use manual focus to ensure sharp images. Autofocus may struggle in low-light conditions, especially when shooting the Northern Lights.
IV. Composition And Techniques For Northern Lights Photography
Choosing The Right Foreground:
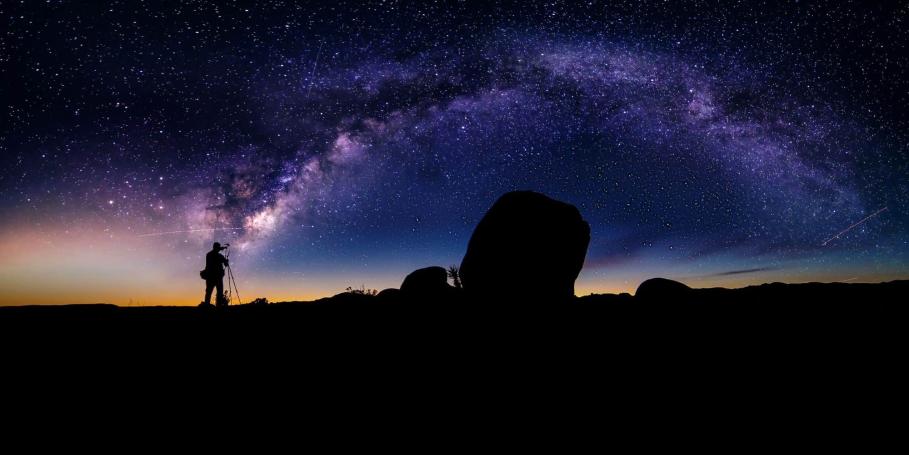
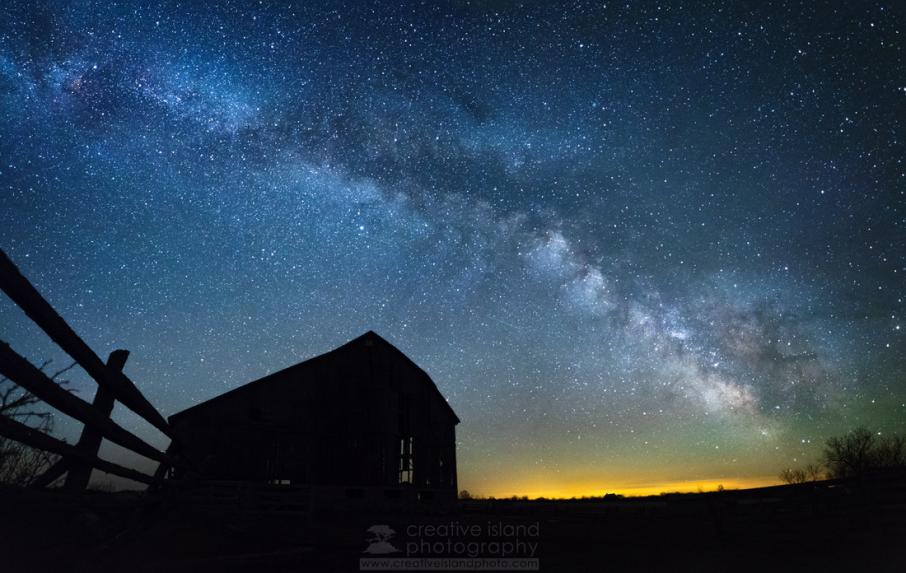
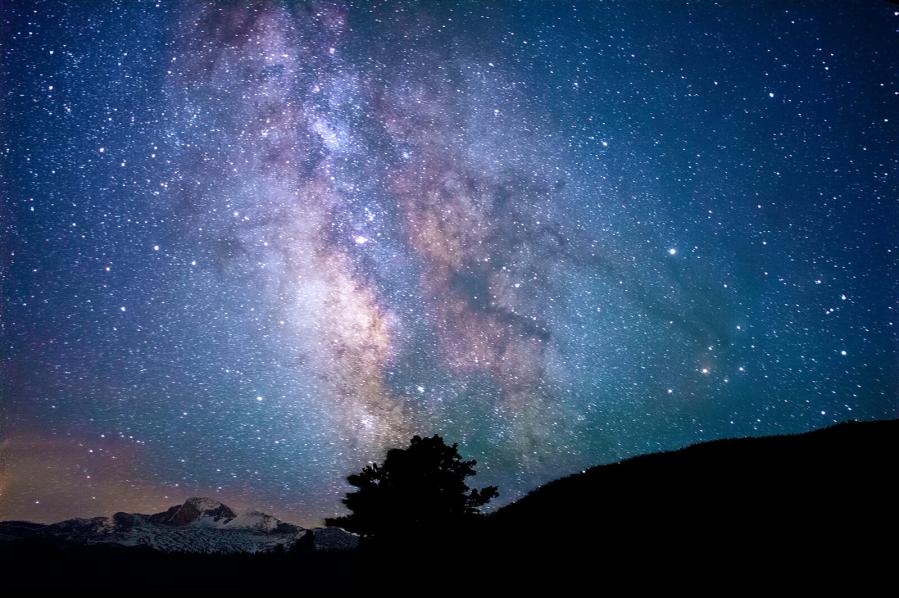
Incorporate interesting elements like mountains, trees, or buildings into the foreground of your image to add depth and context. This will help create a more dynamic and visually appealing composition.
Framing The Shot:
Experiment with different compositions to create dynamic and visually appealing images. Try using the rule of thirds or leading lines to guide the viewer's eye through the image.
Long Exposure Techniques:
Use long exposure times to capture the dynamic movement of the Northern Lights. This will create a sense of motion and energy in your images.
Light Painting:
Use a flashlight or other light source to paint elements in the foreground for added interest. This technique can be used to highlight specific features or create unique effects in your images.
V. Post-Processing Techniques For Northern Lights Photography
Raw Image Editing:
Use software like Adobe Lightroom or Photoshop to adjust exposure, contrast, and white balance. Raw image editing allows you to fine-tune the look and feel of your images.
Noise Reduction:
Apply noise reduction techniques to minimize noise in high ISO images. Noise can be distracting and detract from the overall quality of your images.
Color Correction:
Adjust colors to enhance the vibrancy of the Northern Lights. Use color correction tools to bring out the natural beauty of the aurora.
Sharpening:
Apply sharpening to enhance the details in the image. Sharpening can help make the Northern Lights appear more defined and crisp.
VI. Safety And Ethical Considerations
Safety Precautions:
Dress warmly, be aware of weather conditions, and avoid venturing into dangerous areas. Northern Lights photography often takes place in remote and challenging environments, so it is important to take appropriate safety precautions.
Respecting The Environment:
Minimize light pollution and avoid disturbing wildlife. Be respectful of the environment and take steps to minimize your impact on the natural world.
Ethical Considerations:
Obtain permission from landowners or authorities if shooting on private property or protected areas. It is important to respect the rights of others and follow local regulations when engaging in Northern Lights photography.
VII. Conclusion
Capturing the Northern Lights in all their glory requires a combination of technical skill, creativity, and a deep appreciation for the natural world. By understanding the phenomenon, using the right equipment, and applying effective composition and post-processing techniques, astrophotographers can create stunning images that capture the beauty and wonder of the Northern Lights.
Remember to experiment and explore different approaches to find your unique style and vision. The Northern Lights are a constantly changing spectacle, and there is always something new to discover and capture.
YesNo

Leave a Reply