How Do I Compose My Shot for Northern Lights Astrophotography?
The Northern Lights, also known as Aurora Borealis, are a natural phenomenon that occurs when charged particles from the sun interact with the Earth's magnetic field. This interaction creates a stunning display of light in the sky, often visible in the northern regions of the world. Capturing the beauty of the Northern Lights through astrophotography is a challenging yet rewarding experience. In this article, we will explore the essential steps and techniques involved in composing a stunning Northern Lights photograph.
Understanding The Northern Lights
Scientific Explanation Of Aurora Borealis
The Northern Lights are caused by the interaction of charged particles from the sun, called the solar wind, with the Earth's magnetic field. These particles are accelerated towards the Earth's poles, where they collide with atoms and molecules in the atmosphere, causing them to emit light. The color of the aurora depends on the type of atom or molecule that is excited.
Factors Affecting Aurora Visibility
- Solar Activity: The intensity and frequency of the Northern Lights are directly influenced by solar activity. During periods of high solar activity, the auroras are more likely to be visible and more intense.
- Geomagnetic Conditions: The Earth's magnetic field plays a crucial role in directing the charged particles towards the poles. Geomagnetic storms, caused by solar flares or coronal mass ejections, can enhance the visibility of the Northern Lights.
- Weather Conditions: Clear skies and dark conditions are essential for capturing the Northern Lights. Cloud cover and light pollution can significantly reduce the visibility of the aurora.
Choosing The Right Location
Selecting the right location is crucial for successful Northern Lights astrophotography. Here are some factors to consider:
Research Aurora Forecasts
Aurora forecasts provide valuable information about the likelihood and intensity of the Northern Lights on a given night. Websites and apps like the NOAA Space Weather Prediction Center and Aurora Forecast provide up-to-date forecasts for different regions.
Consider Light Pollution
Light pollution from cities and towns can significantly reduce the visibility of the Northern Lights. Look for locations that are far away from urban areas and have minimal light pollution. Dark Sky Reserves and Bortle Scale maps can help you identify areas with low light pollution.
Accessibility And Safety

Choose a location that is easily accessible and safe. Consider factors such as road conditions, weather conditions, and the presence of wildlife. Always prioritize your safety and be prepared for changing conditions.
Preparing Your Camera Equipment
Camera Body
- Full-Frame vs. Crop Sensor: Full-frame cameras offer a wider field of view and better low-light performance compared to crop sensor cameras.
- High ISO Performance: Choose a camera with good high ISO performance to capture the Northern Lights in low-light conditions.
Lenses
- Wide-Angle Lenses: Wide-angle lenses allow you to capture a broader view of the Northern Lights and the surrounding landscape.
- Fast Lenses: Fast lenses with wide apertures (e.g., f/2.8 or wider) are ideal for capturing the Northern Lights in low-light conditions.
Tripod
A sturdy tripod is essential for keeping your camera steady during long exposures. Look for a tripod that is stable and can support the weight of your camera and lens.
Remote Shutter Release
A remote shutter release allows you to trigger the camera without touching it, minimizing camera shake. This is especially important for long exposures.
Camera Settings For Northern Lights Astrophotography
Aperture
Use a wide aperture (e.g., f/2.8 or wider) to let in as much light as possible. This will help you capture the Northern Lights even in low-light conditions.
Shutter Speed
Use a long shutter speed (e.g., 10 seconds or longer) to capture the movement of the Northern Lights. Experiment with different shutter speeds to achieve the desired effect.
ISO
Increase the ISO to a high value (e.g., ISO 1600 or higher) to compensate for the low light levels. Be mindful of noise levels at higher ISO settings.
White Balance
Set the white balance to a custom setting or use the "daylight" or "cloudy" preset to ensure accurate colors in your photos.
Focus
Focus on the stars or a distant object to ensure sharp images. Use manual focus if autofocus struggles in low-light conditions.
Composition Techniques
Rule Of Thirds
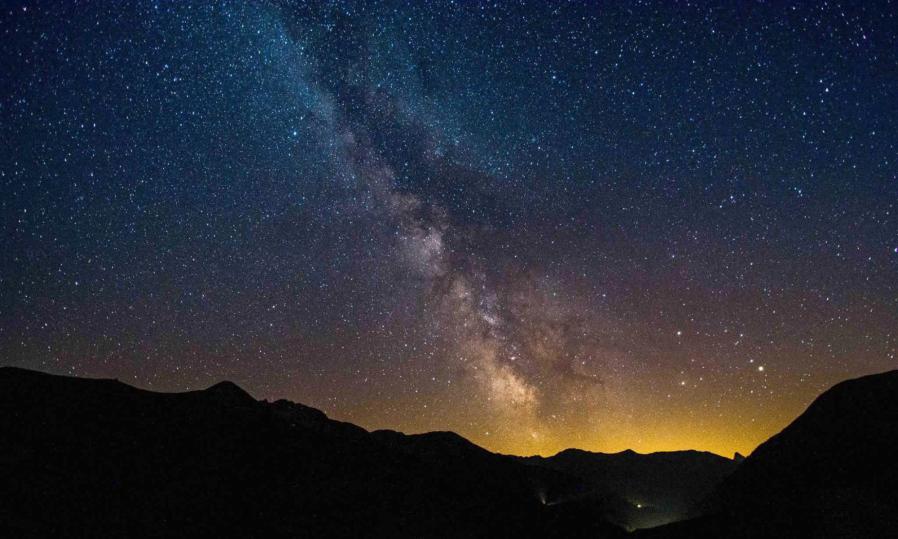
Use the rule of thirds to compose your shot. Place the horizon along one of the horizontal lines and the Northern Lights along one of the vertical lines to create a visually appealing composition.
Leading Lines
Incorporate leading lines, such as trees, mountains, or roads, to draw the viewer's attention towards the Northern Lights.
Framing The Aurora
Frame the Northern Lights using natural elements like trees, mountains, or buildings to add depth and context to your image.
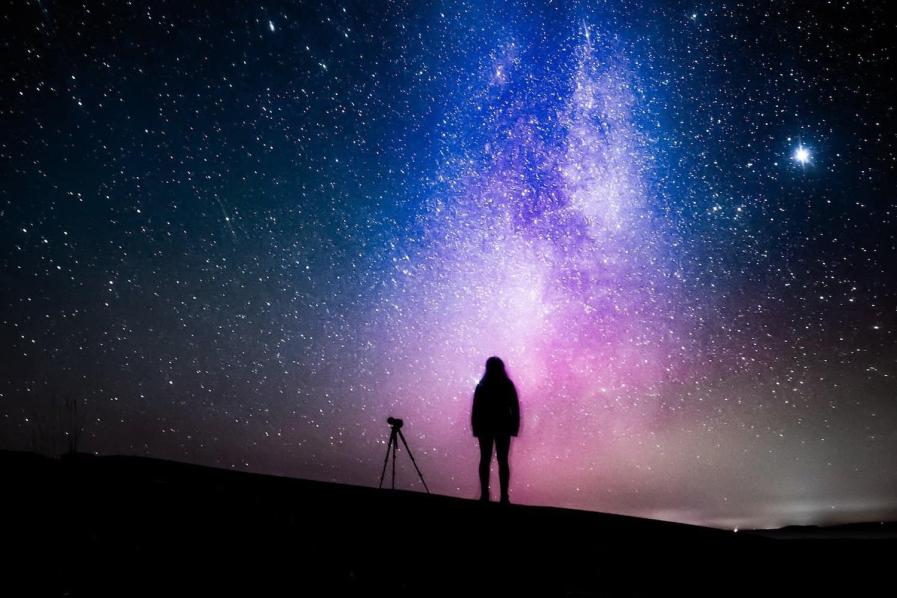
Incorporating Foreground Elements
Include foreground elements, such as rocks, trees, or buildings, to add interest and scale to your composition.
Additional Tips For Capturing Stunning Northern Lights Photos
- Use a sturdy tripod to minimize camera shake.
- Focus on the stars to ensure sharp images.
- Experiment with different shutter speeds to capture the movement of the aurora.
- Use a remote shutter release to avoid camera shake.
- Dress warmly and bring extra batteries.
Post-Processing Techniques
Basic Adjustments
- Adjust exposure, contrast, and white balance to improve the overall look of your image.
- Use noise reduction tools to minimize noise at high ISO settings.
Advanced Techniques
- Use color correction tools to enhance the colors of the Northern Lights.
- Apply star stacking techniques to reduce noise and enhance the detail in the stars.
Northern Lights astrophotography is a challenging but rewarding experience. By understanding the science behind the aurora, choosing the right location, preparing your camera equipment, and using proper composition techniques, you can capture stunning images of this natural phenomenon. Experiment, practice, and enjoy the beauty of the Northern Lights through the lens of your camera.
YesNo

Leave a Reply